How to Transfer Photos from iPhone to Laptop – Made Easy for Everyone
Do you ever run out of space on your iPhone just when you’re about to take the perfect photo? Yep, that annoying “Storage Almost Full” message always seems to show up at the worst time. The good news? You can free up space and keep your memories safe by learning how to transfer photos from iPhone to laptop—and it’s much easier than you might think.
Whether you’re using a Windows PC or a MacBook, this guide will walk you through the best ways to move photos from your iPhone to your laptop, with or without cables, iTunes, or tech stress.
Why Even Transfer iPhone Photos to a Laptop?
Think about it—your iPhone is your go-to camera. But once it fills up, you’re stuck.
Here’s why moving those photos to your laptop is a smart move:
- It frees up space so you don’t miss important moments.
- It keeps your memories backed up and safe.
- You can easily organize, edit, or share photos on a bigger screen.
Plus, it just feels good knowing your favorite snapshots won’t disappear if your phone gets lost or damaged.
Method 1: Use a USB Cable (Super Simple – No iTunes Needed)
The easiest way? Plug your iPhone into your laptop with a USB cable.
Here’s how:
- Use your Lightning to USB cable to connect the iPhone to your laptop.
- Tap “Trust This Computer” when prompted.
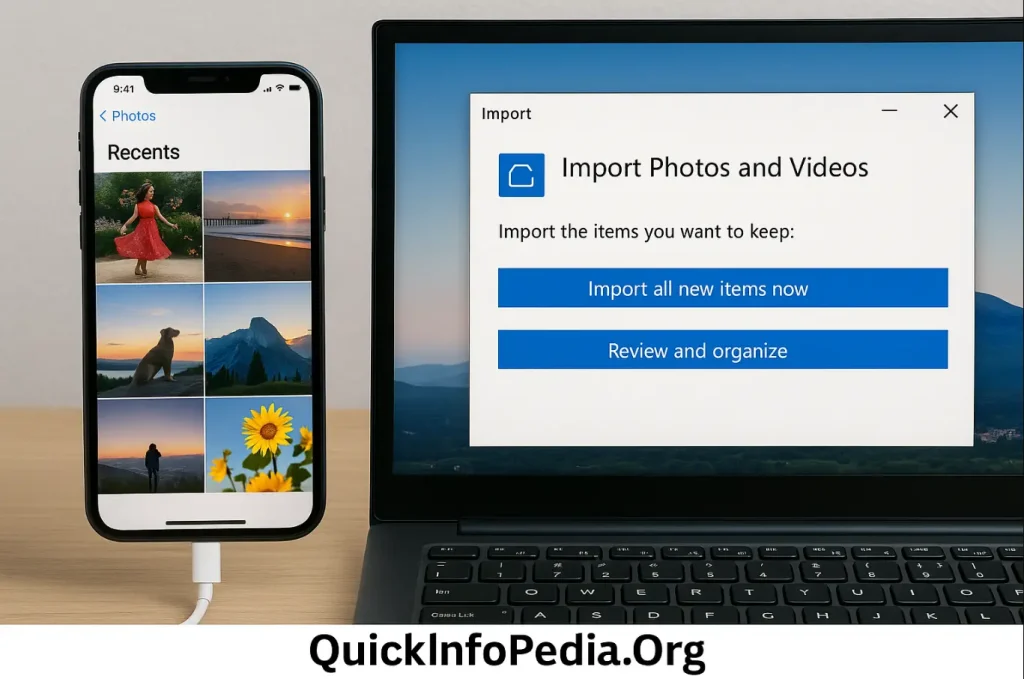
- On Windows, open File Explorer and go to your iPhone under “This PC.”
- Open the DCIM folder, find your photos, and drag them to your desktop or a folder.
This method is fast, doesn’t need iTunes, and works even if you don’t have internet.
Just make sure you’re using a proper data cable, not a charge-only one (yes, that matters!).
Method 2: Wireless Options – No Cables, No Clutter
Hate cables? Same here. These wireless methods make transferring photos smooth and effortless.
AirDrop (For Mac Users)
If you’re using a MacBook, AirDrop is your best friend.
- Turn on Bluetooth and Wi-Fi on both your iPhone and Mac.
- Select your photos on your iPhone, tap Share, then pick AirDrop.
- Choose your MacBook, and your photos will appear in the Downloads folder.
Note: AirDrop doesn’t work with Windows laptops.
iCloud Sync (Great for Both Windows and Mac)
- On your iPhone: Go to Settings > [Your Name] > iCloud > Photos, then turn on iCloud Photos.
- On your laptop: Use the iCloud app for Windows, or go to iCloud.com and sign in.
- Your photos will be automatically uploaded and ready to download.
This is perfect if you want to keep your photos always updated between devices.
Method 3: Use Apps to Transfer iPhone Photos
Don’t want to use Apple’s tools? No problem. There are great photo transfer apps that work just as well.
Some user-friendly options:
- Photo Transfer App
- Send Anywhere
- Google Photos
- Dropbox
These apps let you wirelessly transfer iPhone photos to a laptop, with some even allowing you to move files without any setup. Google Photos is especially popular for its free storage and easy search features.
Mistakes You Might Be Making (And How to Avoid Them)
Even simple tasks can go sideways. Here are a few things to watch out for:
- Forgetting to tap “Trust This Computer” on your iPhone.
- Using a cable that only charges, not transfers data.
- Expecting AirDrop to work on Windows (it won’t).
- Not enabling iCloud syncing and wondering why nothing shows up.
- Looking in the wrong folder—apps like WhatsApp save their own images separately.
Avoid these hiccups, and your photo transfer will be a breeze.
Pro Tips for a Smooth Transfer
- Create a folder on your laptop just for your iPhone photo backups.
- Sort photos by date or event to keep them organized.
- Transfer photos regularly so your phone doesn’t get overloaded.
- Make sure both your iPhone and laptop have enough battery during big transfers.
These simple habits will make your life a lot easier.
So, What’s the Best Way to Transfer iPhone Photos?
It really depends on what’s most convenient for you. Here’s a quick guide:
| Your Need | Best Option |
|---|---|
| Quick and easy | USB cable transfer |
| No cable, Apple user | AirDrop |
| Cloud sync across devices | iCloud |
| No Apple tools | Google Photos / Dropbox |
| Huge photo library | Manual USB transfer |
No matter your setup, there’s a way that’ll fit into your routine without stress.
Final Thoughts
Your iPhone captures your life—one photo at a time. Don’t let those memories sit there until you’re out of space. Now that you know how to transfer photos from iPhone to laptop, you’re ready to keep your moments safe, organized, and easy to enjoy on a bigger screen.
Whether you’re using a MacBook, a Windows 10 laptop, or just looking for a no-fuss method to move photos, this guide has you covered.